Advice on rook endings and connected pawns
- In very general terms, if the king of the superior side (the side with the rook) is close to the pawns, then the superior side wins against two pawns and draws against three or four.
- Two or more pawns win if they are sufficiently advanced, provided that their king can support them and the enemy king is remote.
- Two connected passed pawns, in the absence of kings, win if they have both reached their 6th rank; otherwise, in most cases the rook wins.
- Against three connected pawns, the rook wins if his king is near and the pawns have not advanced further than their 4th rank. If one of the pawns has reached the 6th rank then it offers good drawing chances, while a pawn on the 7th actually forces the side with the rook to fight for the draw.
- Connected passed pawns are much stronger than isolated ones.
- When facing isolated pawns, the rook must first act against the pawn that is supported by its king.
- In all cases both kings aim to approach the pawns. The pawns need the support of their king in order to advance, while the enemy king aims to block their advance by placing himself in front of them.
- The rook usually stops the pawns more effectively from its 1st rank.
- If the side with the rook also has a pawn, then its chances increase dramatically, as the pawn can usually become a passed one.
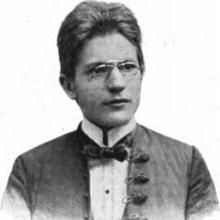 We start with the second part of our rook and pawn lessons with two studies for you to solve. They are by Ladislav Prokeš (7 June 1884 - 9 January 1966), one of the most prolific composers of endgame studies in chess. He was born and died in Prague.
Prokeš was joint Czech Champion in 1921 and played for the Czech Olympiad team in 1927, 1928, and 1930. In 1951 he published a collection of studies ‘Kniha šachových studií’. His 1.159 endgame studies, as listed in Harold van der Heijden's database, rank fourth among all composers.
Study 1
This is a very pretty study. The white pawns have been stopped and Black will simply push his a-pawn. So how can White succeed? Try it against the diagram, or look at the position in the replay window below.
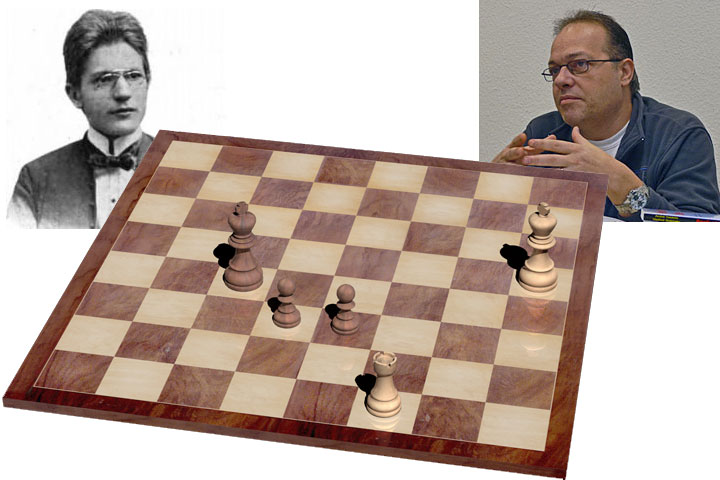
Study 2
In this study we will see the famous ‘Prokeš Manoeuvre’, which is a tactic that enables a rook to draw against two advanced pawns in a chess endgame. Prokeš composed this endgame study in 1939 which illustrated the ‘Prokeš Manoeuvre’ for the first time.
And here are both solutions for you to replay:
In the second study the passed connected duo looked unstoppable at first sight, but we should always keep in the mind the Prokes study. Here are some historical examples:
Conclusion
There are many things to be learned from the above examples:
- The rook behind the pawns.
- Activity of the rook is a must.
- Activity of the king is crucial.
- Each tempo counts double.
- Do not forget the ‘Prokes Manoeuvre’!