
Photography is one of those funny fields that suffers from a number of misconceptions that often prevent people from improving. The first and foremost is the idea that talent is the biggest driving force. I won’t deny that talent will serve as a separating factor from good to great images, or pros from the geniuses, but anyone with the drive to learn, and the patience and persistence to keep at it should be able to reach a very creditable level. The point is that this is a something that can be learned and improved upon, with a vast field of knowledge available to help you get there.
There is a saying in photography that it isn’t the equipment, but the person behind it. I’ll be frank in saying that this is a terribly misleading statement. The problem is that it is often interpreted to mean that a good camera or lens is unimportant, or makes little difference. However, that is simply untrue, and if it were true, there would be no incentive to acquire better equipment, would there? What it really means is that if the person is a bad photographer with shoddy equipment, buying a fancy camera will only make them a bad photographer with expensive equipment.
Still, let’s learn what we can do with even the most basic of all cameras: the smartphone, and what the most common mistakes in amateur chess photos are and how to fix them.
Before discussing the most basic rules of composition or framing, let’s talk about sharp images. Without question the biggest issue starts with photos that are either out of focus or mysteriously ‘fuzzy’. This is almost always due to one of two things.
Have you ever cleaned a window that was dirty, though still transparent, and noticed just how much sharper the world got after it was cleaned? Well, remember that a smartphone (or portable camera) usually has a lens area that is no bigger than the size of your smallest fingernail. That is its window to the world, so if it is even a little dirty, has a smudge or a fingerprint, the image will suffer terribly. Clean it with tissue and watch the imagery improve.

You can't expect stellar results if this is what the lens looks like
There is no question that the biggest source of out of focus images is plain old shaky hands. With a smartphone this is especially easy to get wrong, so start by making sure you hold the camera as steady as possible when you press the shutter. It is precisely when you press the shutter that there is a risk of shake since the thumb or finger tap will cause it. Therefore, when taking the photo, tap it as gently as possible while holding the camera steady with both hands.
Remember, few things are more fatal to a photo than being out of focus.
Photography is a well-studied field that has many rules of composition to achieve more engaging images. The Rule of Thirds, leading lines, and many more, all originating from classical painting, will help in all general photography, but they are also outside the scope of this article. What follows are some basic rules of thumb that will help you achieve consistently better photos in chess.
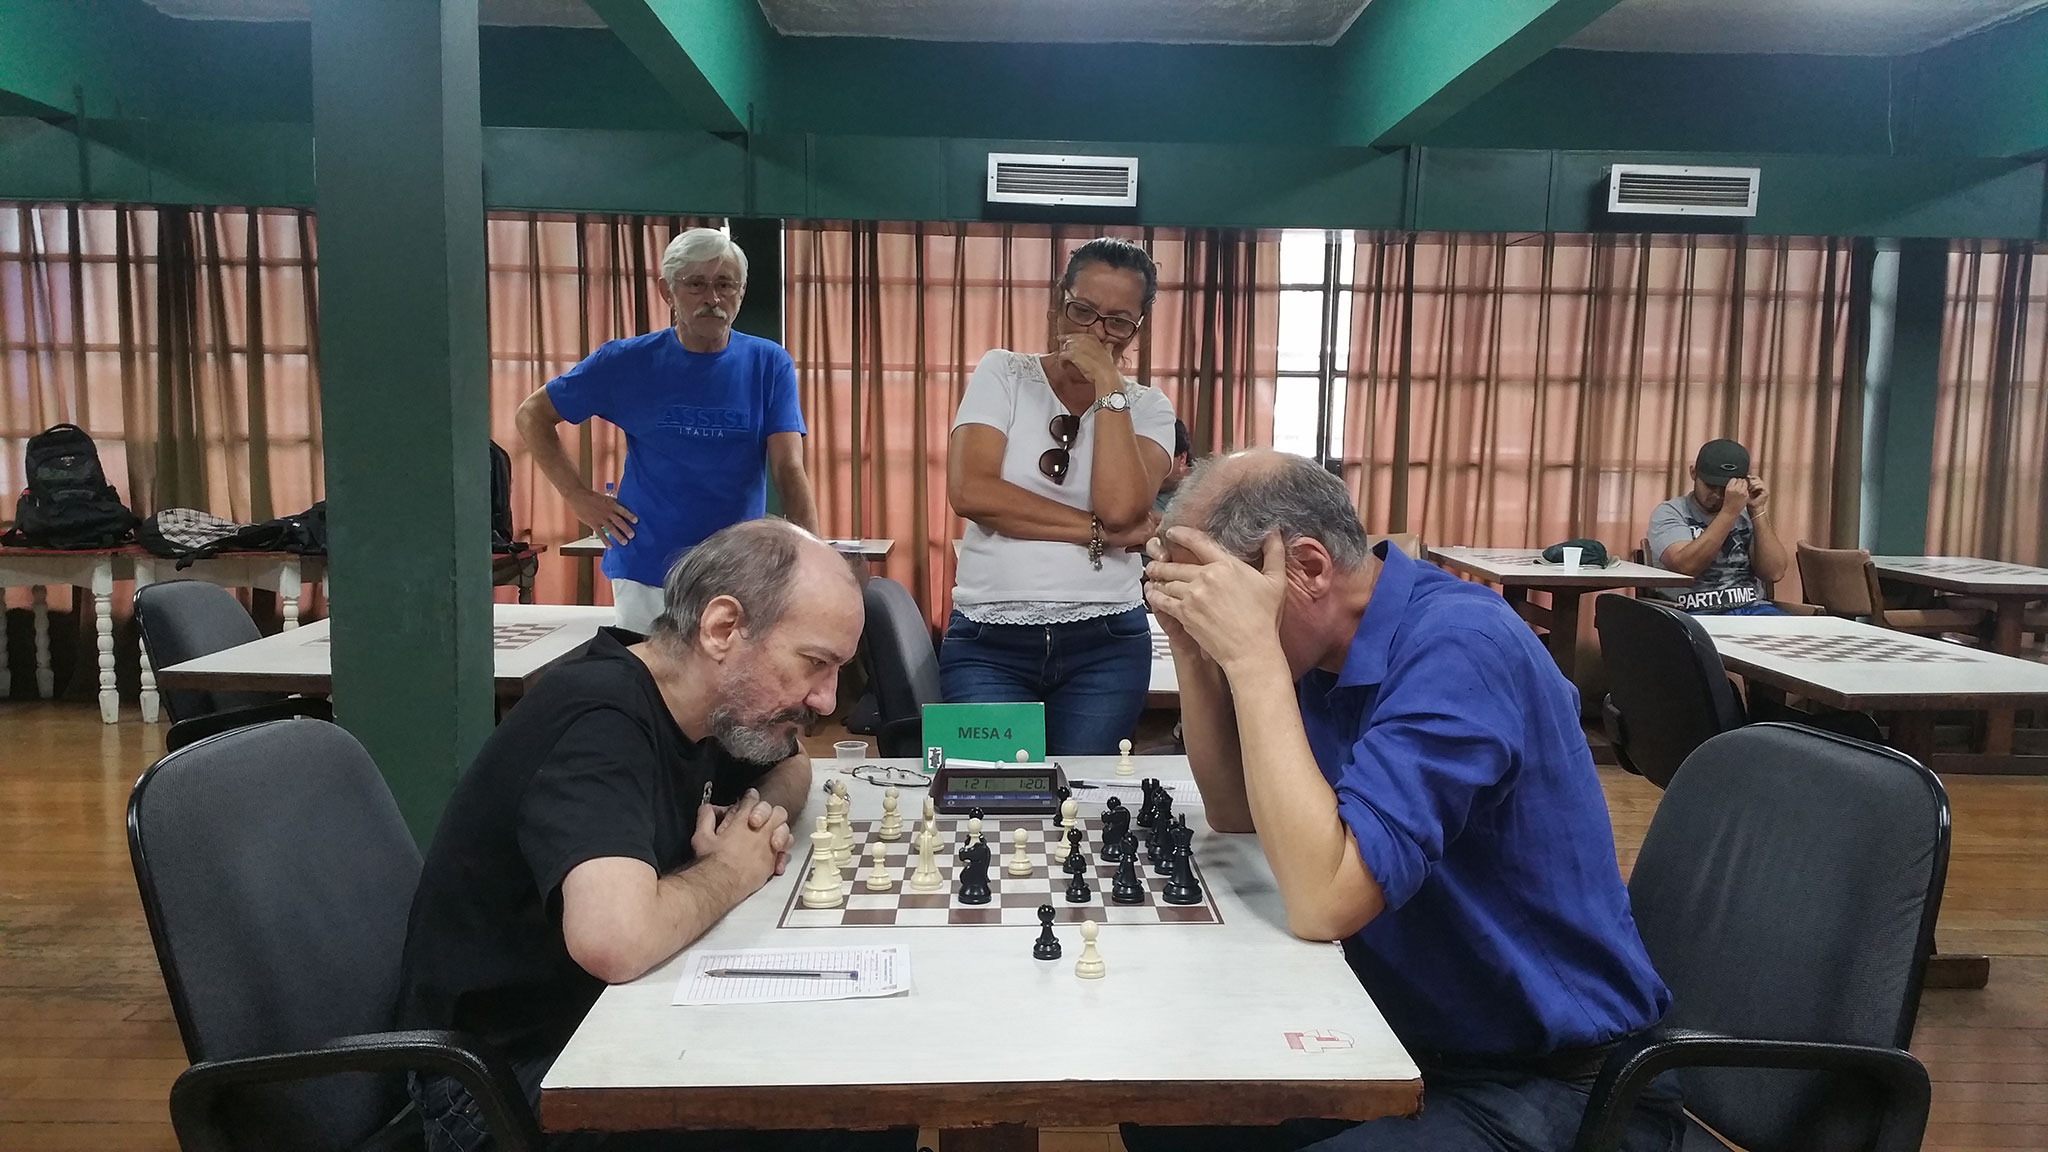
The number one mistake seen in composition is that of shooting from above. The person will take out their smartphone or camera, hold it slightly in front of them, and take the shot. It will usually end up looking something like this:

This image of FM Hilton Rios and IM Eduardo Limp, taken at a local masters tournament held in the Tijuca Tênis Club, shows the scene, but at arms length
This would be fine if my goal were to show the position on the board, but if my goal was a picture of the players it is a miss. From above, we lack that most basic of human elements, the eyes, and what is more, we are disengaged from the scene.
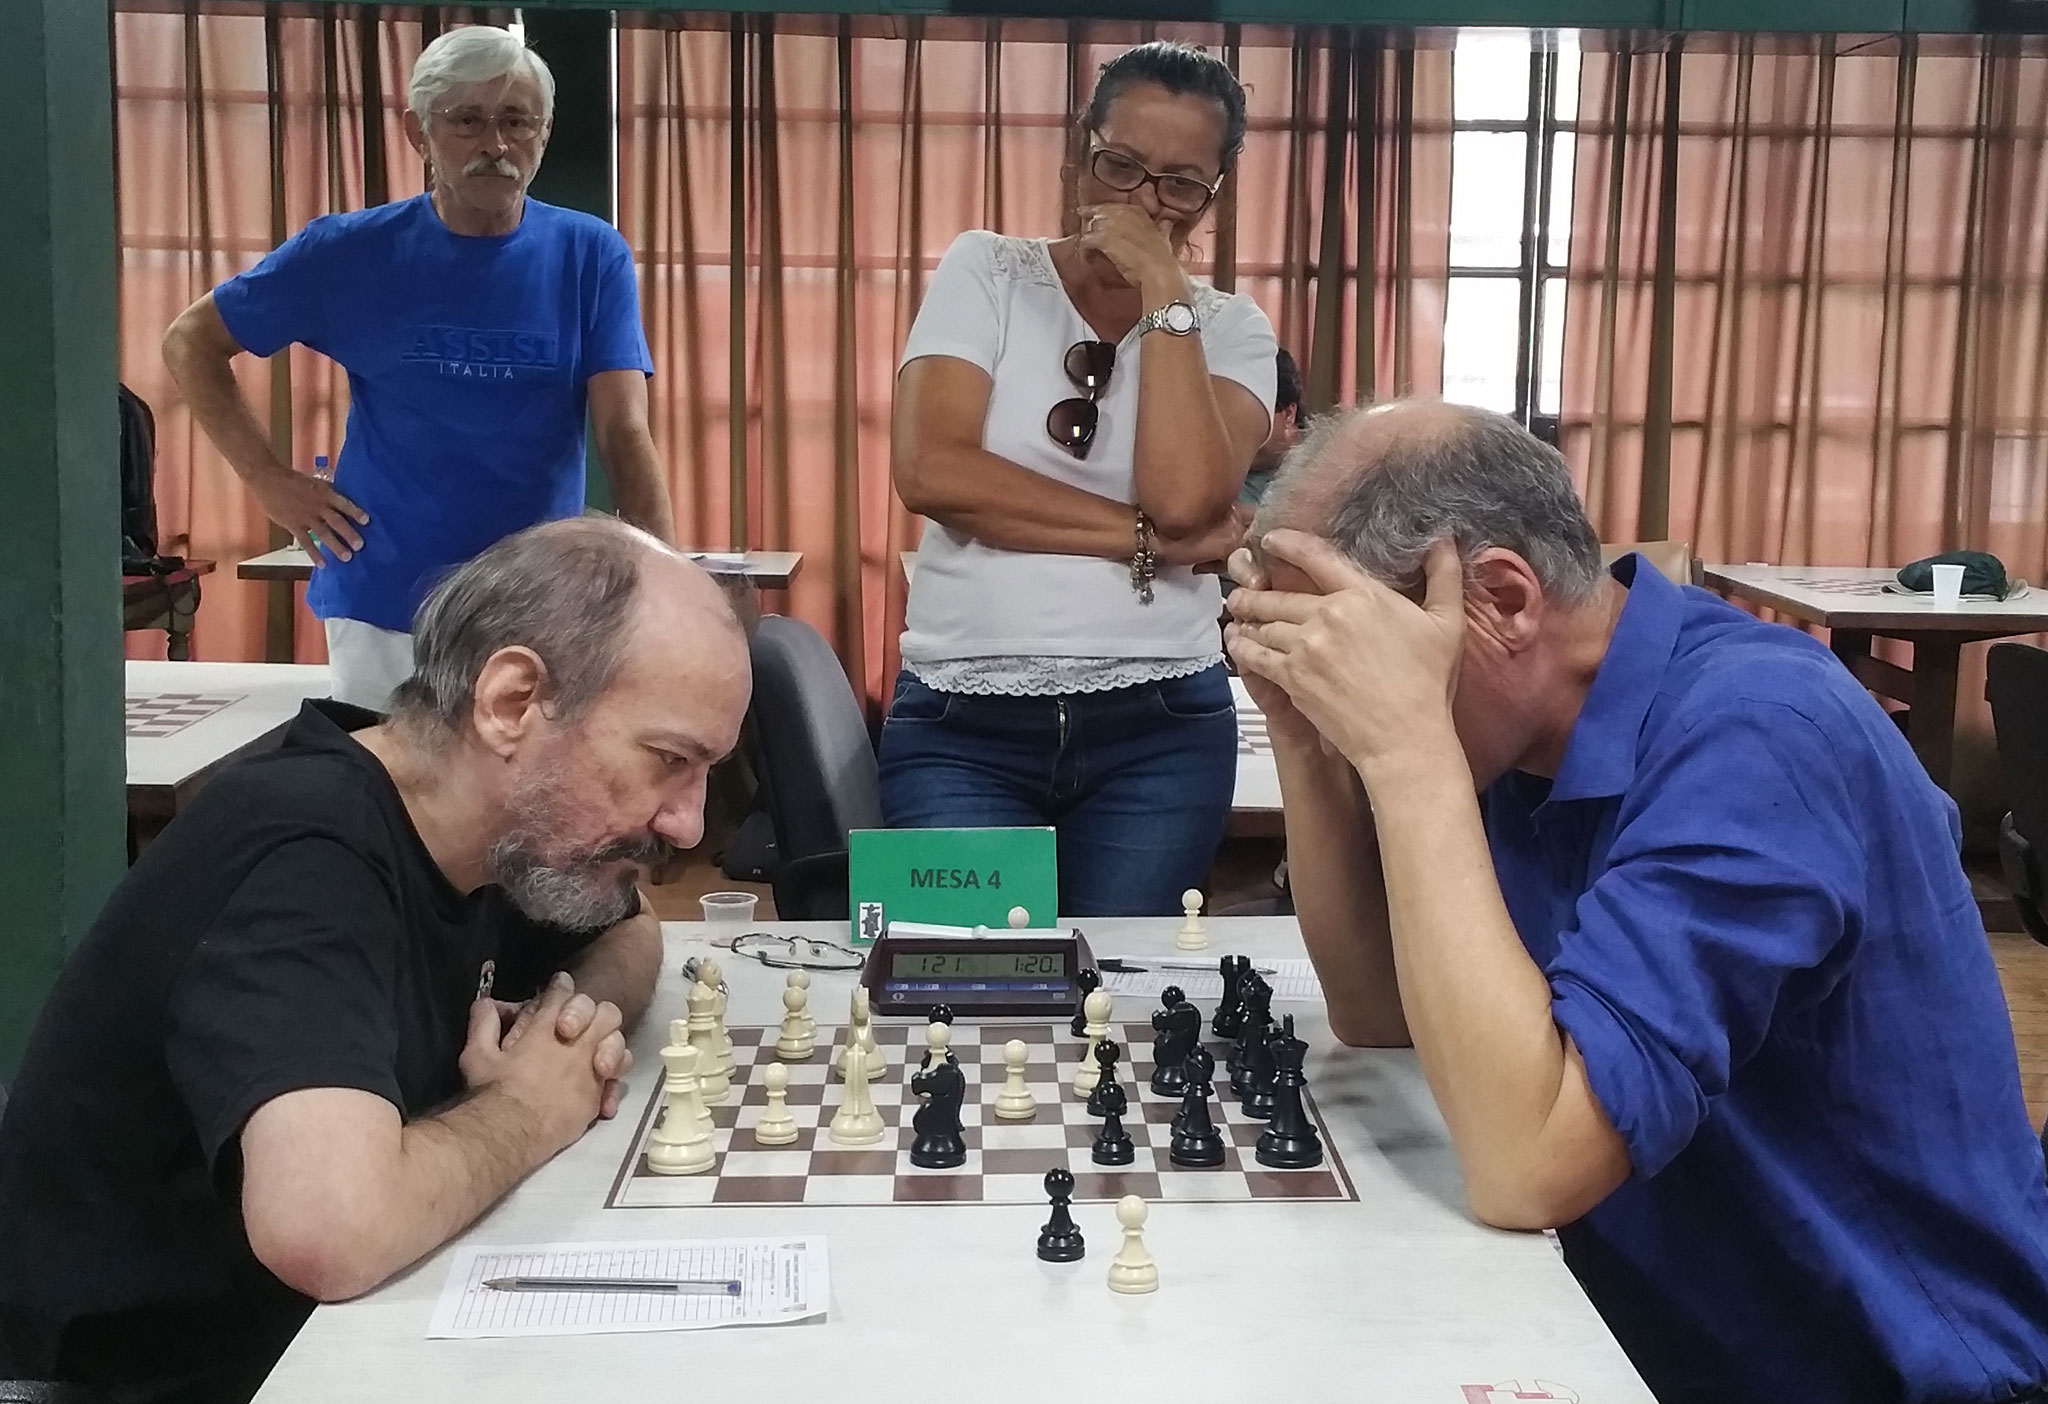
Instead, hold the camera at the height of the players, about chest level, as if you were sitting right there with them.

The end-result is an image that brings the viewer into the action. Yes, this was shot with a smartphone.
Another variant of that same mistake is seen with only one player.

The image above is is a typical image seen on social media or event websites with inexperienced photographers. A scene from above, showing the player, but in such a way that we are held apart. As a record of the moment, it is fine, but again we feel distanced from the subject.
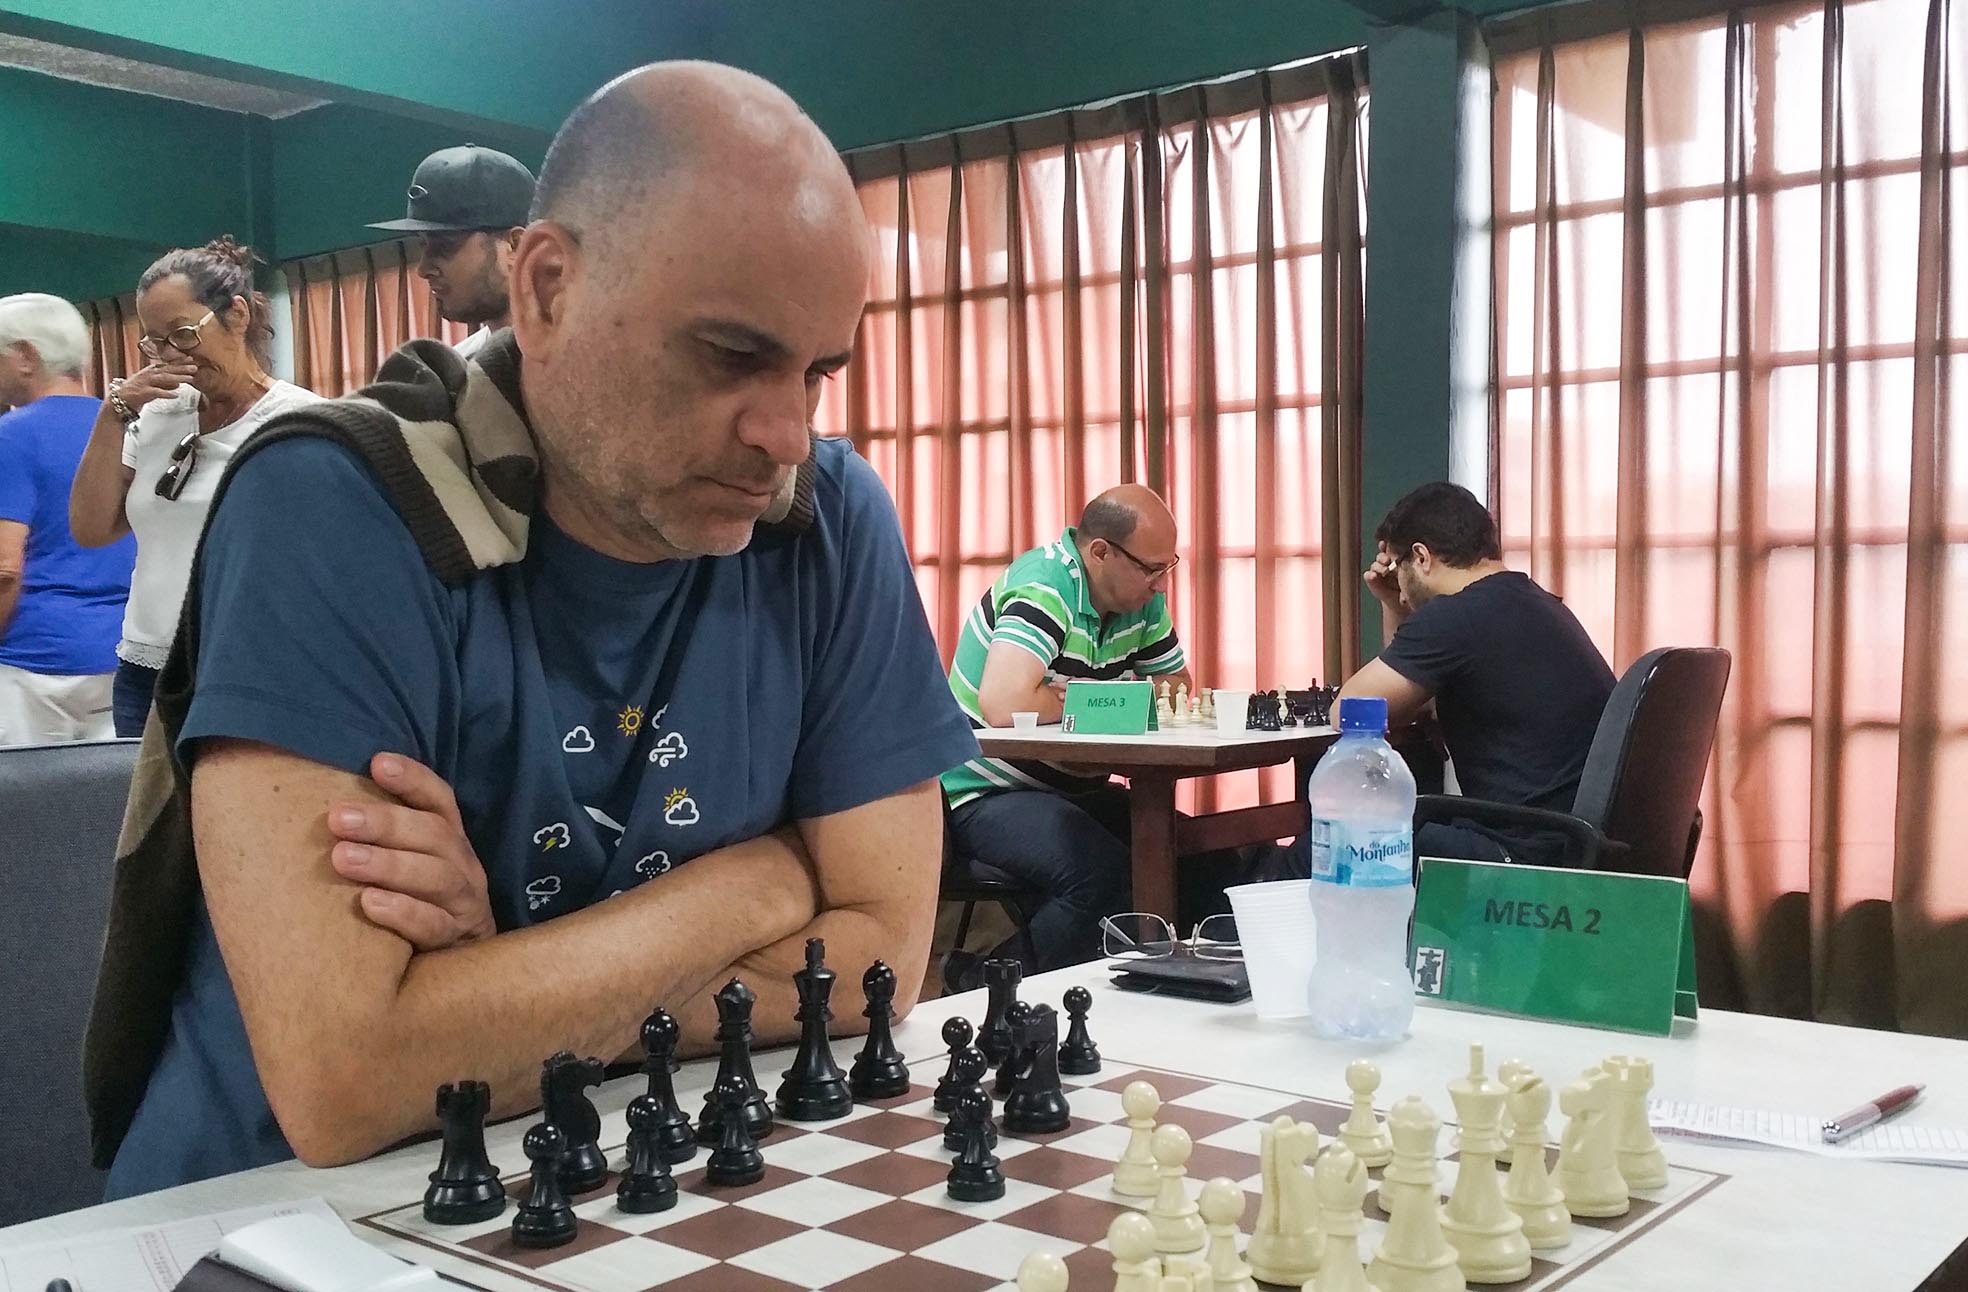
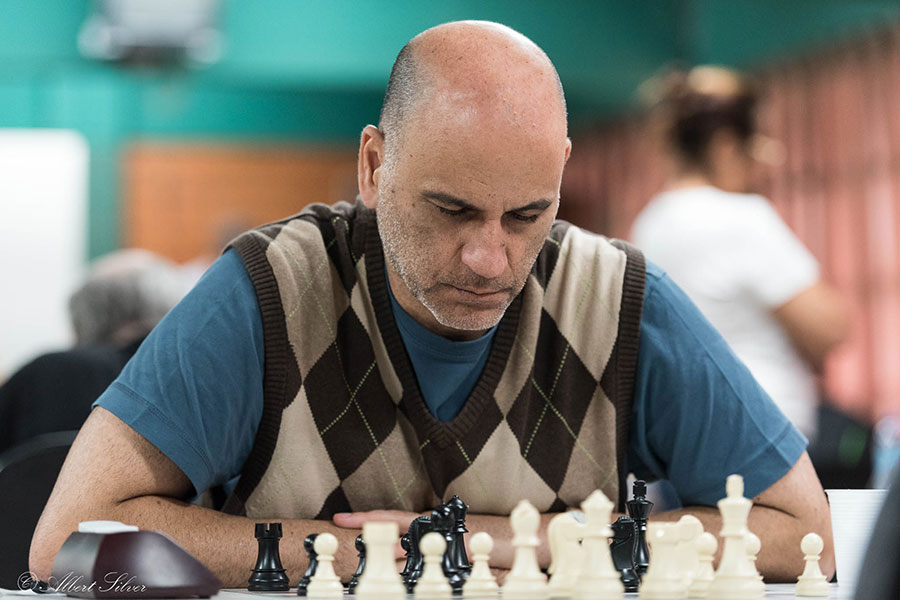
However, if one lowers the camera to shoot ahead, it suddenly feels more intimate.

Please note that this question of angle is equally valid when taking photos of children or animals. This photo of my dog would be less engaging if shot from standing up, though since it was not shot on a smartphone I had to get down very low to take it.
Another common issue is that of all the extraneous content in the photo. In life we tend to take in everything around us, such as the spectators watching, the playing hall, the material, and so on. It is tempting to want to include all this into the image as a means of context, to ‘show it all’. However, unless you have a specific purpose, it is almost always a mistake. When taking an image, try to stick to a clear plan, so that the person looking at it does not wander all over wondering what it is they are supposed to be looking at. Make the subject of your image clear. Is it the players or player? Then focus on them, and cut out the rest.
In the image above, not only are the players visible, but so are the spectators, the playing hall around, the ceiling, and so on. If the goal is to show the players and the spectators, then so be it, cut out the rest. Cut how? Even on a smartphone, there are plenty of free editing tools with basic features that can handle this very easily.

The area in red is what we really want to show, so let's get rid of the rest. Not only does the ceiling add nothing to the scene, but by including it, the players and board only take up about half the frame.
After trimming off the excess, we now we have a much more focused image above, which works better.
This brings into play another typical situation: the portrait of a player with the opponent obstructing the view. This is very common, and unless you are patient enough to wait for the opponent to get up (if he or she gets up), you may be stuck with a huge body blocking part of the view.
The first tip is to position yourself so that you can view the player as much as possible. The plan will be to then cut out the opponent.
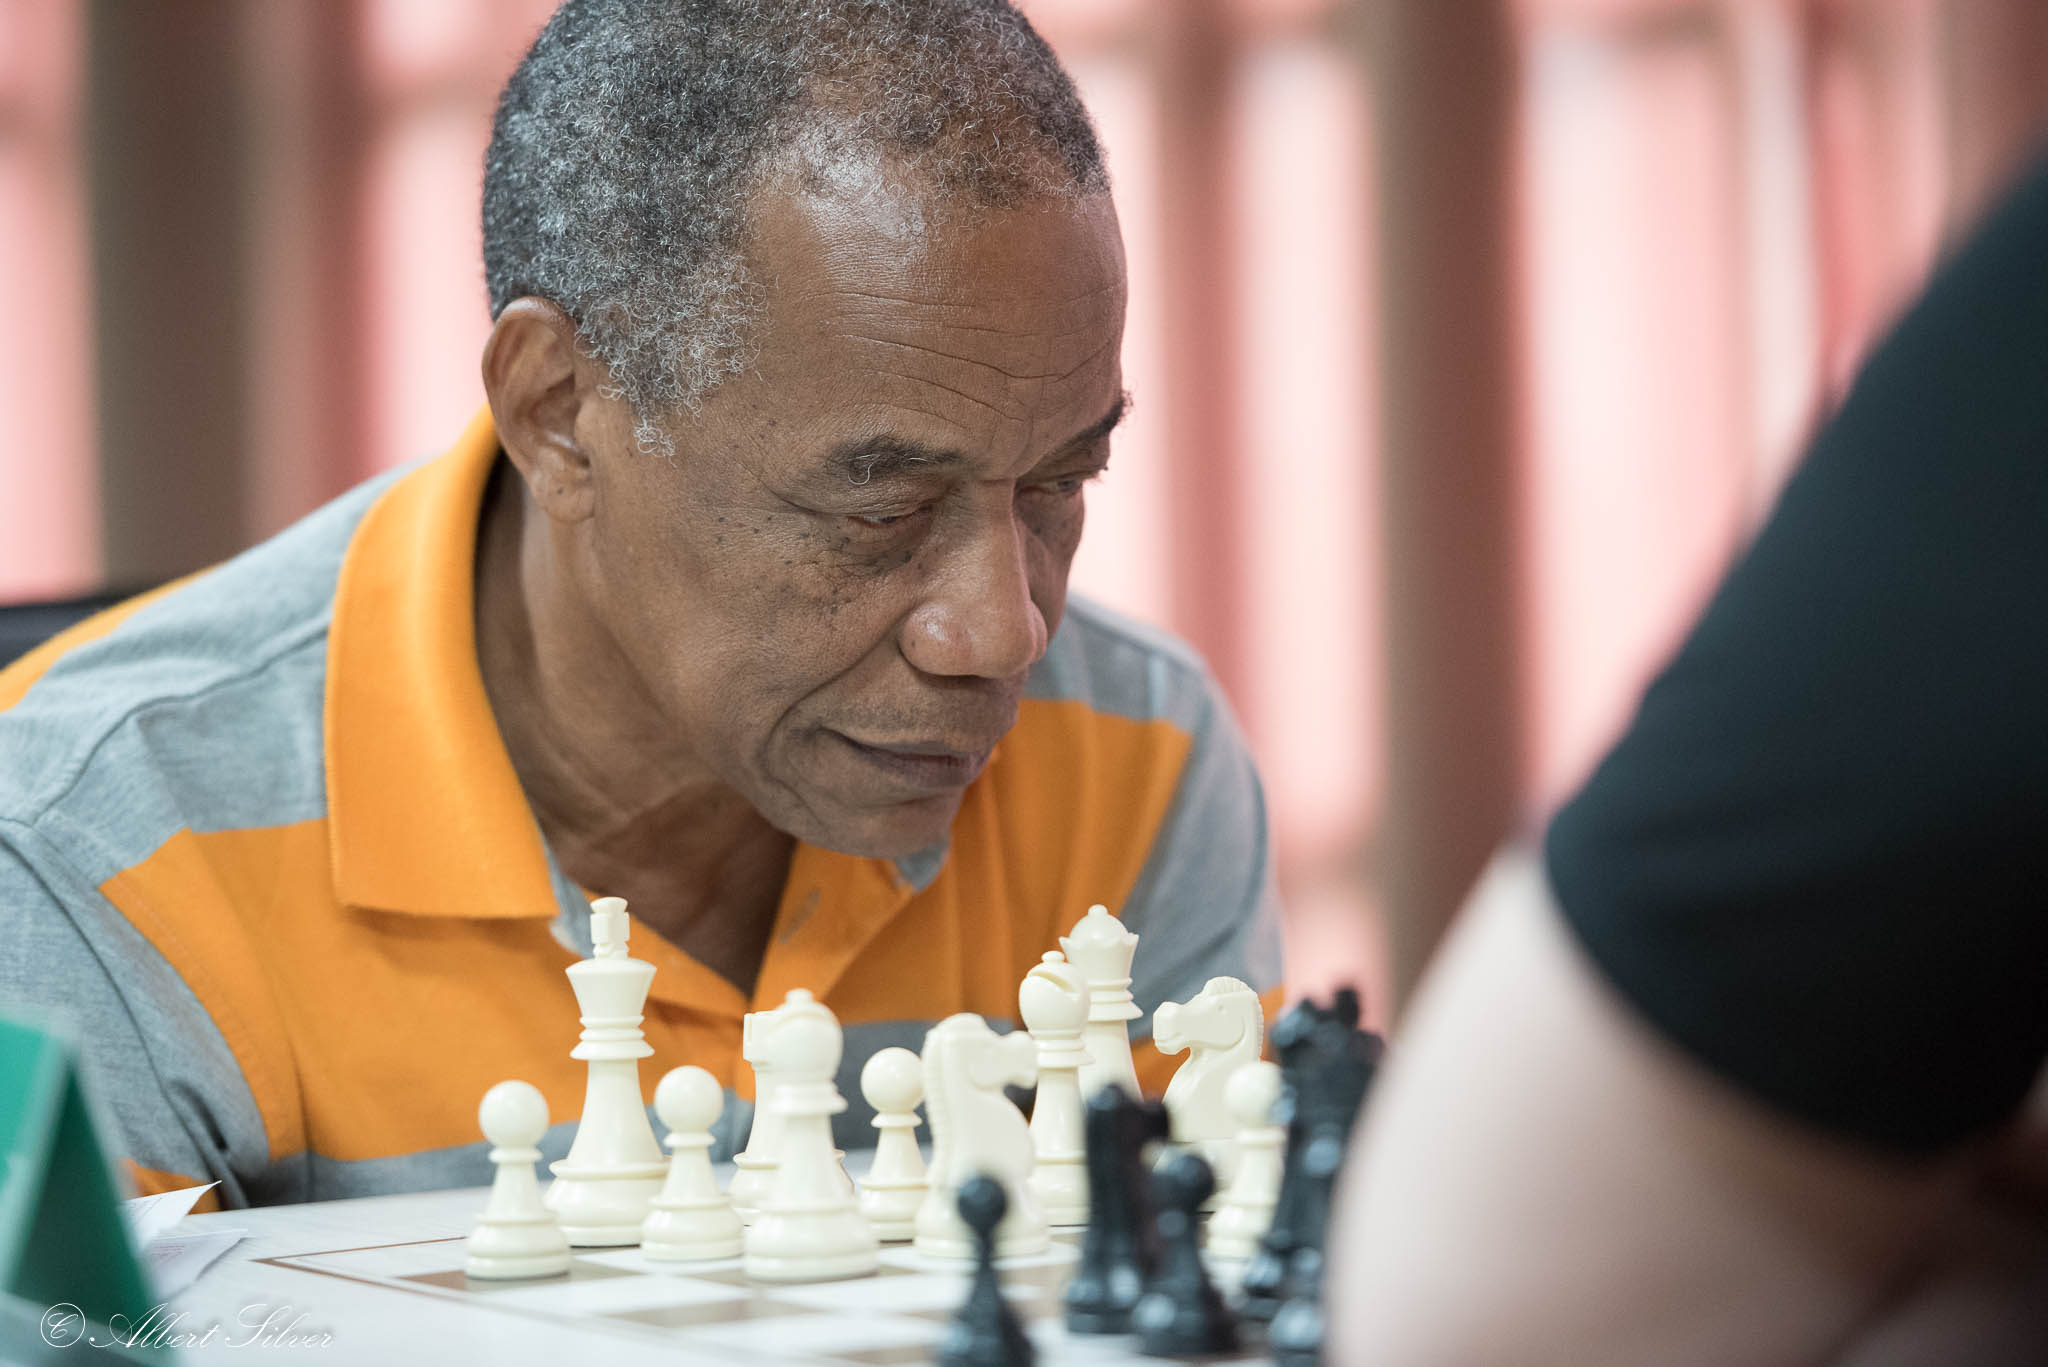
Here is an example. In this image the opponent’s arm, being closer, takes up nearly as much of the frame as the player himself. The solution will be to crop it out as much as possible. Leaving a bit is ok so long as the player is the focus. You might think it is obvious they are the focus, and while it is true, the viewer’s eye will be automatically drawn to the large body in front, whether they want it or not.
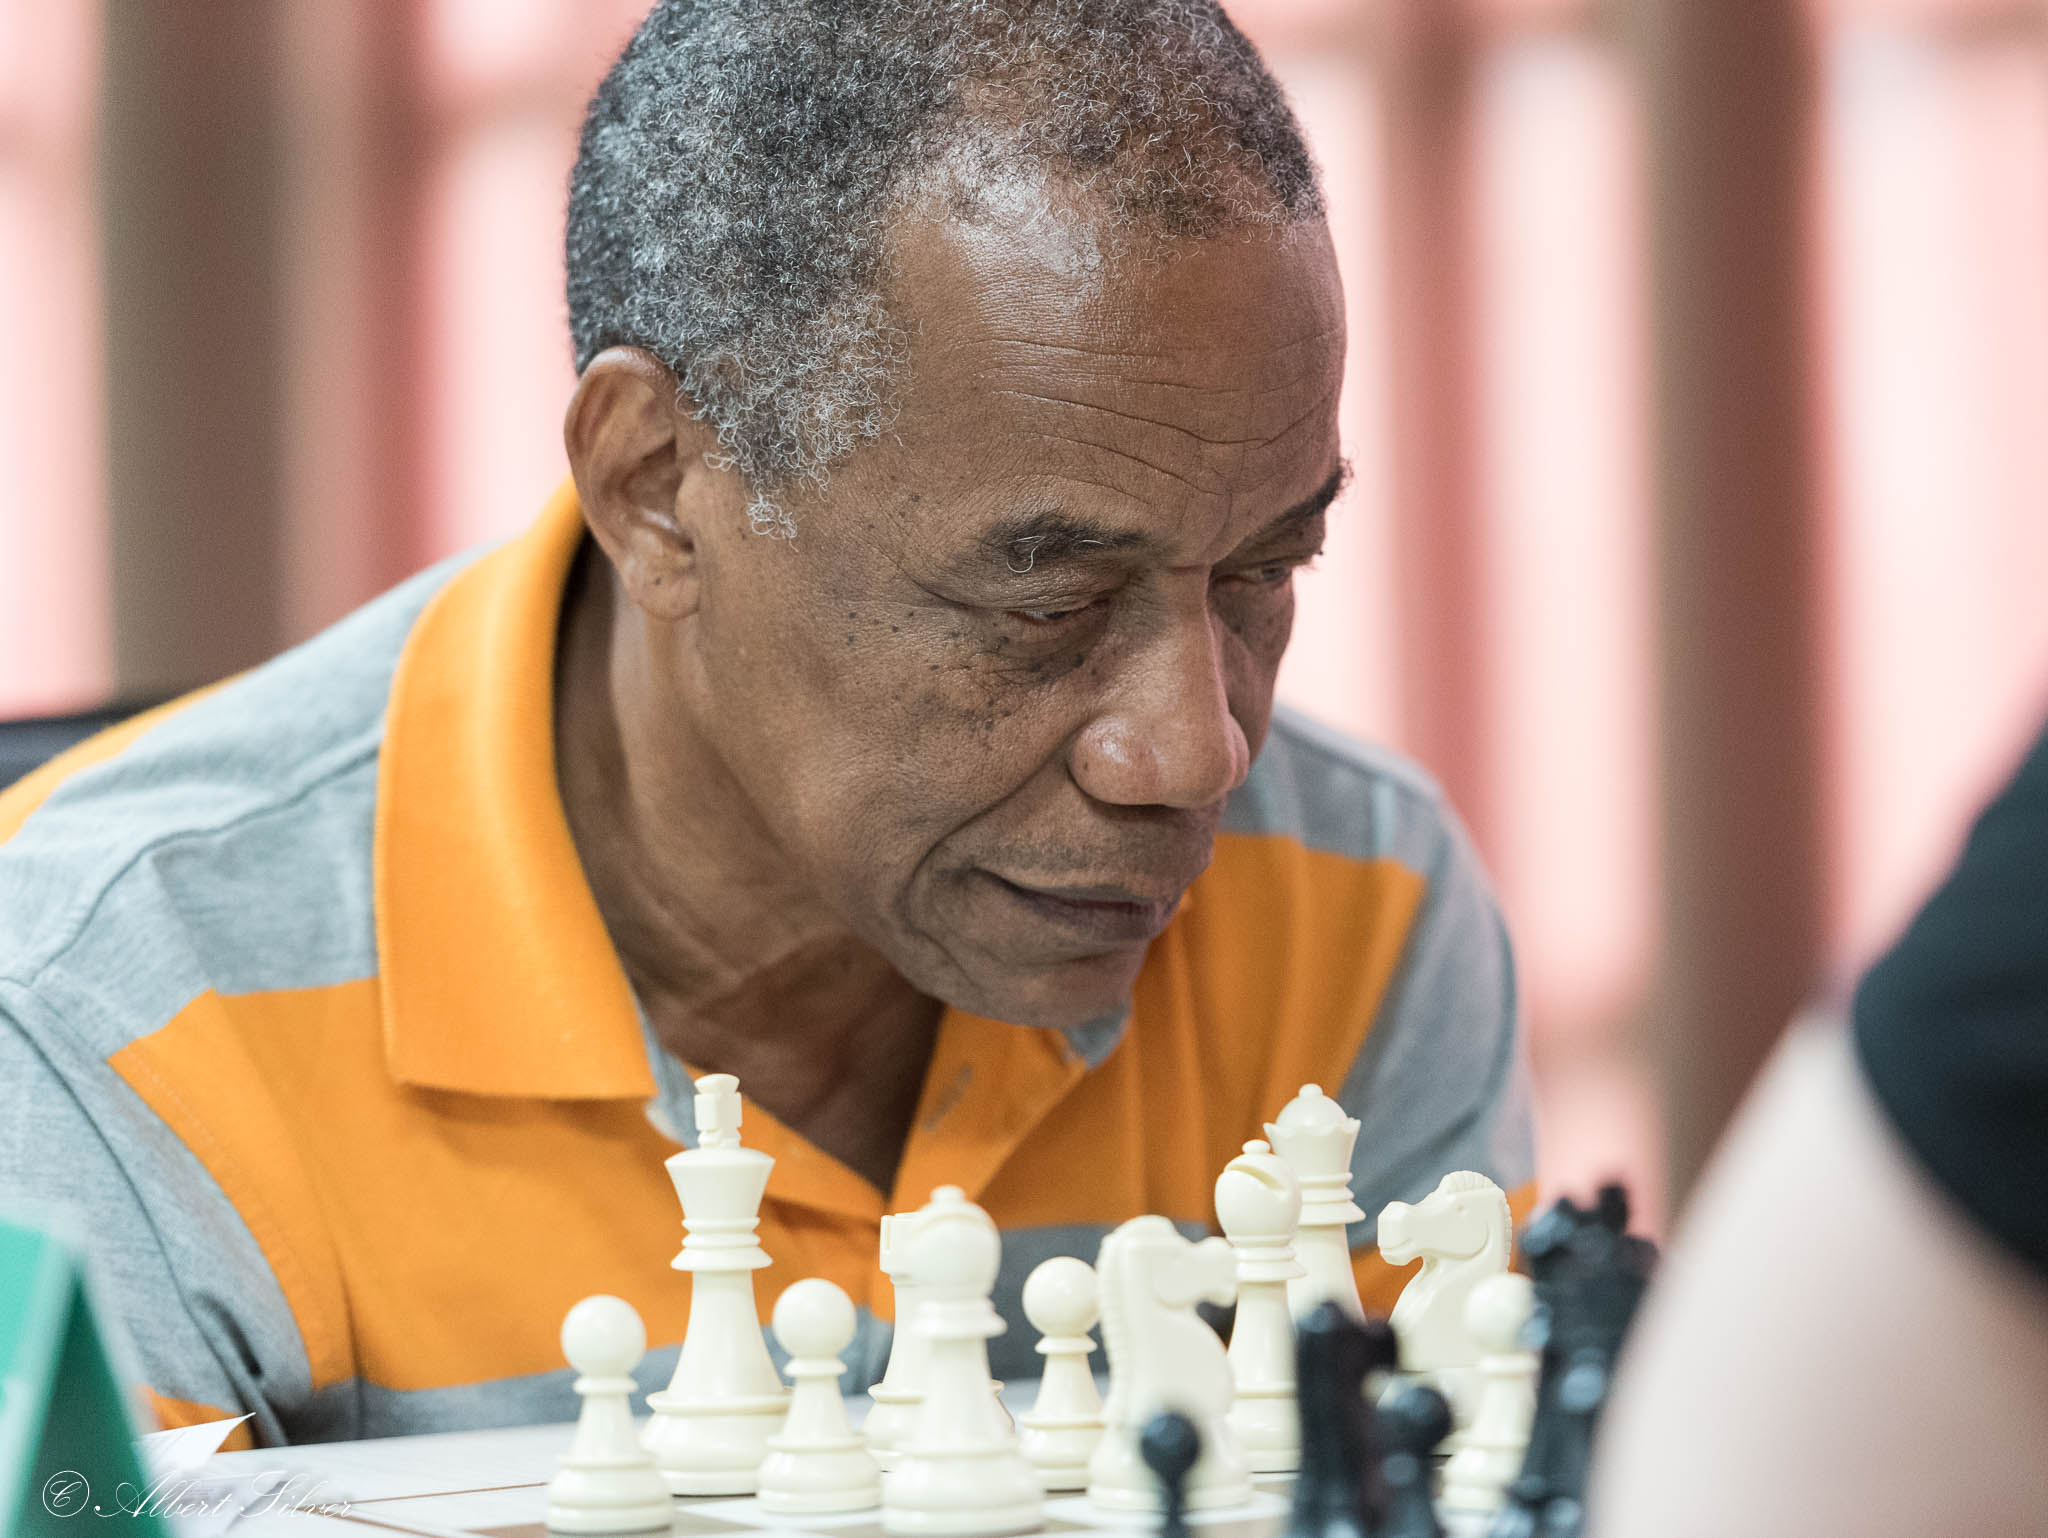
With most of the extra removed, the image of the player is more focused, and the bit of the arm left is a minor distraction at worst.
While there is certainly more that can be said about the subject, hopefully you will find these suggestions and guidelines helpful in getting better and more compelling images. In the next article, I will share some of the tips and tricks used by the pros in the field to get best results.